1980's Casio Keyboard Rebuild
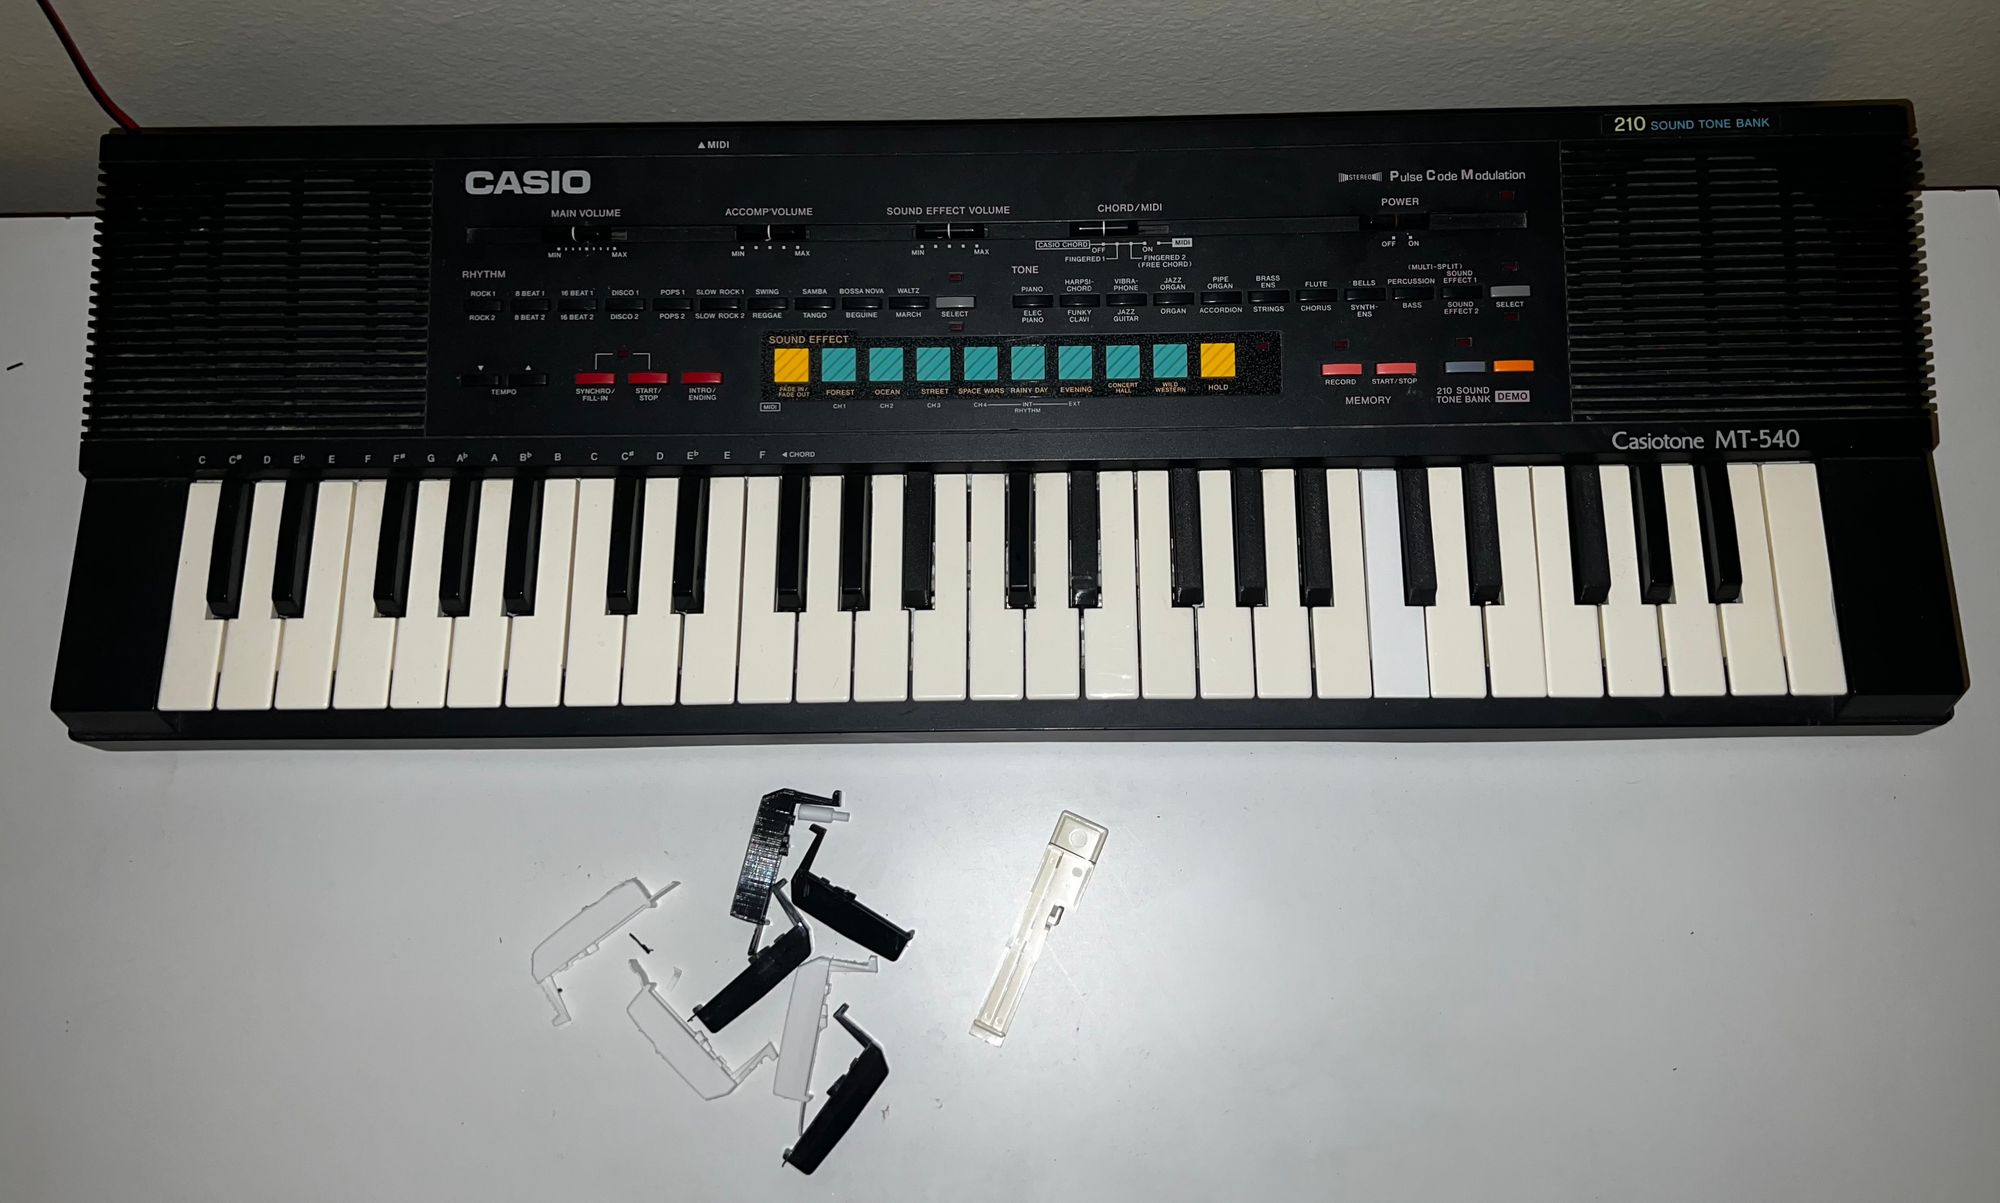
The last time I was at my parent's house I found an old Casio Keyboard (Casiotone MT-540) my sister and I used to play on when we were kids. It didn't power on, and it has a few keys missing, so I took it home to fix it up through the magic of CAD and 3D printing.
I had actually forgotten I had this keyboard for a few months until I wanted a CAD project to work on during my winter break. This seemed perfect to practice some CAD modeling in Fusion360 and hands-on prototyping with 3D printing using my Ender-3 Pro at home. I use the same process and workflow to develop parts for our Drone in my Senior Design project.
Initially, I wanted to use some sort of 3D scanning with my iPhone 13's LiDAR but after some trial and error, the scans were not high quality enough to use. I settled on manually recreating the broken keys I had on hand using a set of digital calipers and Fusion360. Fusion360 is a fantastic entry-level CAD software, I picked it up extremely quickly coming from 123DDesign and Blender. (It's also free for students!)
Here are the final 3D Models, displayed with <model-viewer>. (You can move them around!) They are nearly 1:1 recreations of the original keys, minus a slight angle that was on the black keys. I chose to remove this so the keys would be easier to 3D print flat on their faces.
Below you can see time-lapses of the creation of the keys in Fusion360.


After some test prints and fits at home using white PETG, I went to the UTDesign Makerspace and printed off all of the keys that were missing in their correct colors (White and Black). Once they were ready I took the keyboard apart and replaced the keys, using super glue to hold in the new keys by their little tabs.
Next, is the power issue. This was a simple fix, either I get 6 new D batteries or find and buy the correct power supply. In my case, I opted for the 9V power supply because it was a couple of bucks cheaper and easy to source from Amazon. After the power supply arrived and the keyboard was reassembled, all of the keys were now in working order.
Here is the keyboard in all of its restored glory, along with the broken and prototype keys in front of it. It's worth noting new keys were a little stiff and needed to be worn in. Too bad I don't know how to play the keyboard.

